Guide to Hatching Fertile Eggs
Hatching chicks is a popular and rewarding project, especially in spring and summer. While it's great fun—especially for children—there are challenges to be aware of.

At Durham Hens, we’ve been hatching and rearing chicks for many years. This guide shares our experience to help ensure a successful hatch and a positive experience for you.


The Basics of Hatching

Fertility: Eggs are only fertile if the hen has mated with a cockerel. Eggs can remain fertile for up to two weeks after separation from the cockerel.

Storage: Fertile eggs can be stored for up to two weeks at 10–16°C, although the fresher they are, the better the hatch rate. Store with the pointed end down, on a slant, and rotate daily.

Incubation: Eggs require a constant temperature of 37.5°C for 21 days, either from a broody hen or an incubator. Do not expect the egg to change in size—development happens internally.

Hatching: Around day 21, the chick will begin to “pip” (peck a hole in the shell). You may hear cheeping or see the egg move. Do not move or disturb the egg during hatching.

Overdue Eggs: Any egg that hasn’t hatched by day 25 should be removed.

Using an incubator
 
Choosing the Right Incubator
This is often where the biggest mistakes are made. While budget models may look tempting, many cannot maintain a steady temperature—and some can even be fire hazards.

We recommend investing in a reliable incubator, such as the Brinsea range, for consistent results.

Setting Up the Incubator
  • Place your incubator in a stable environment—not in direct sunlight, near radiators, or in draughts.
  • The room should maintain a consistent temperature throughout the day and night.
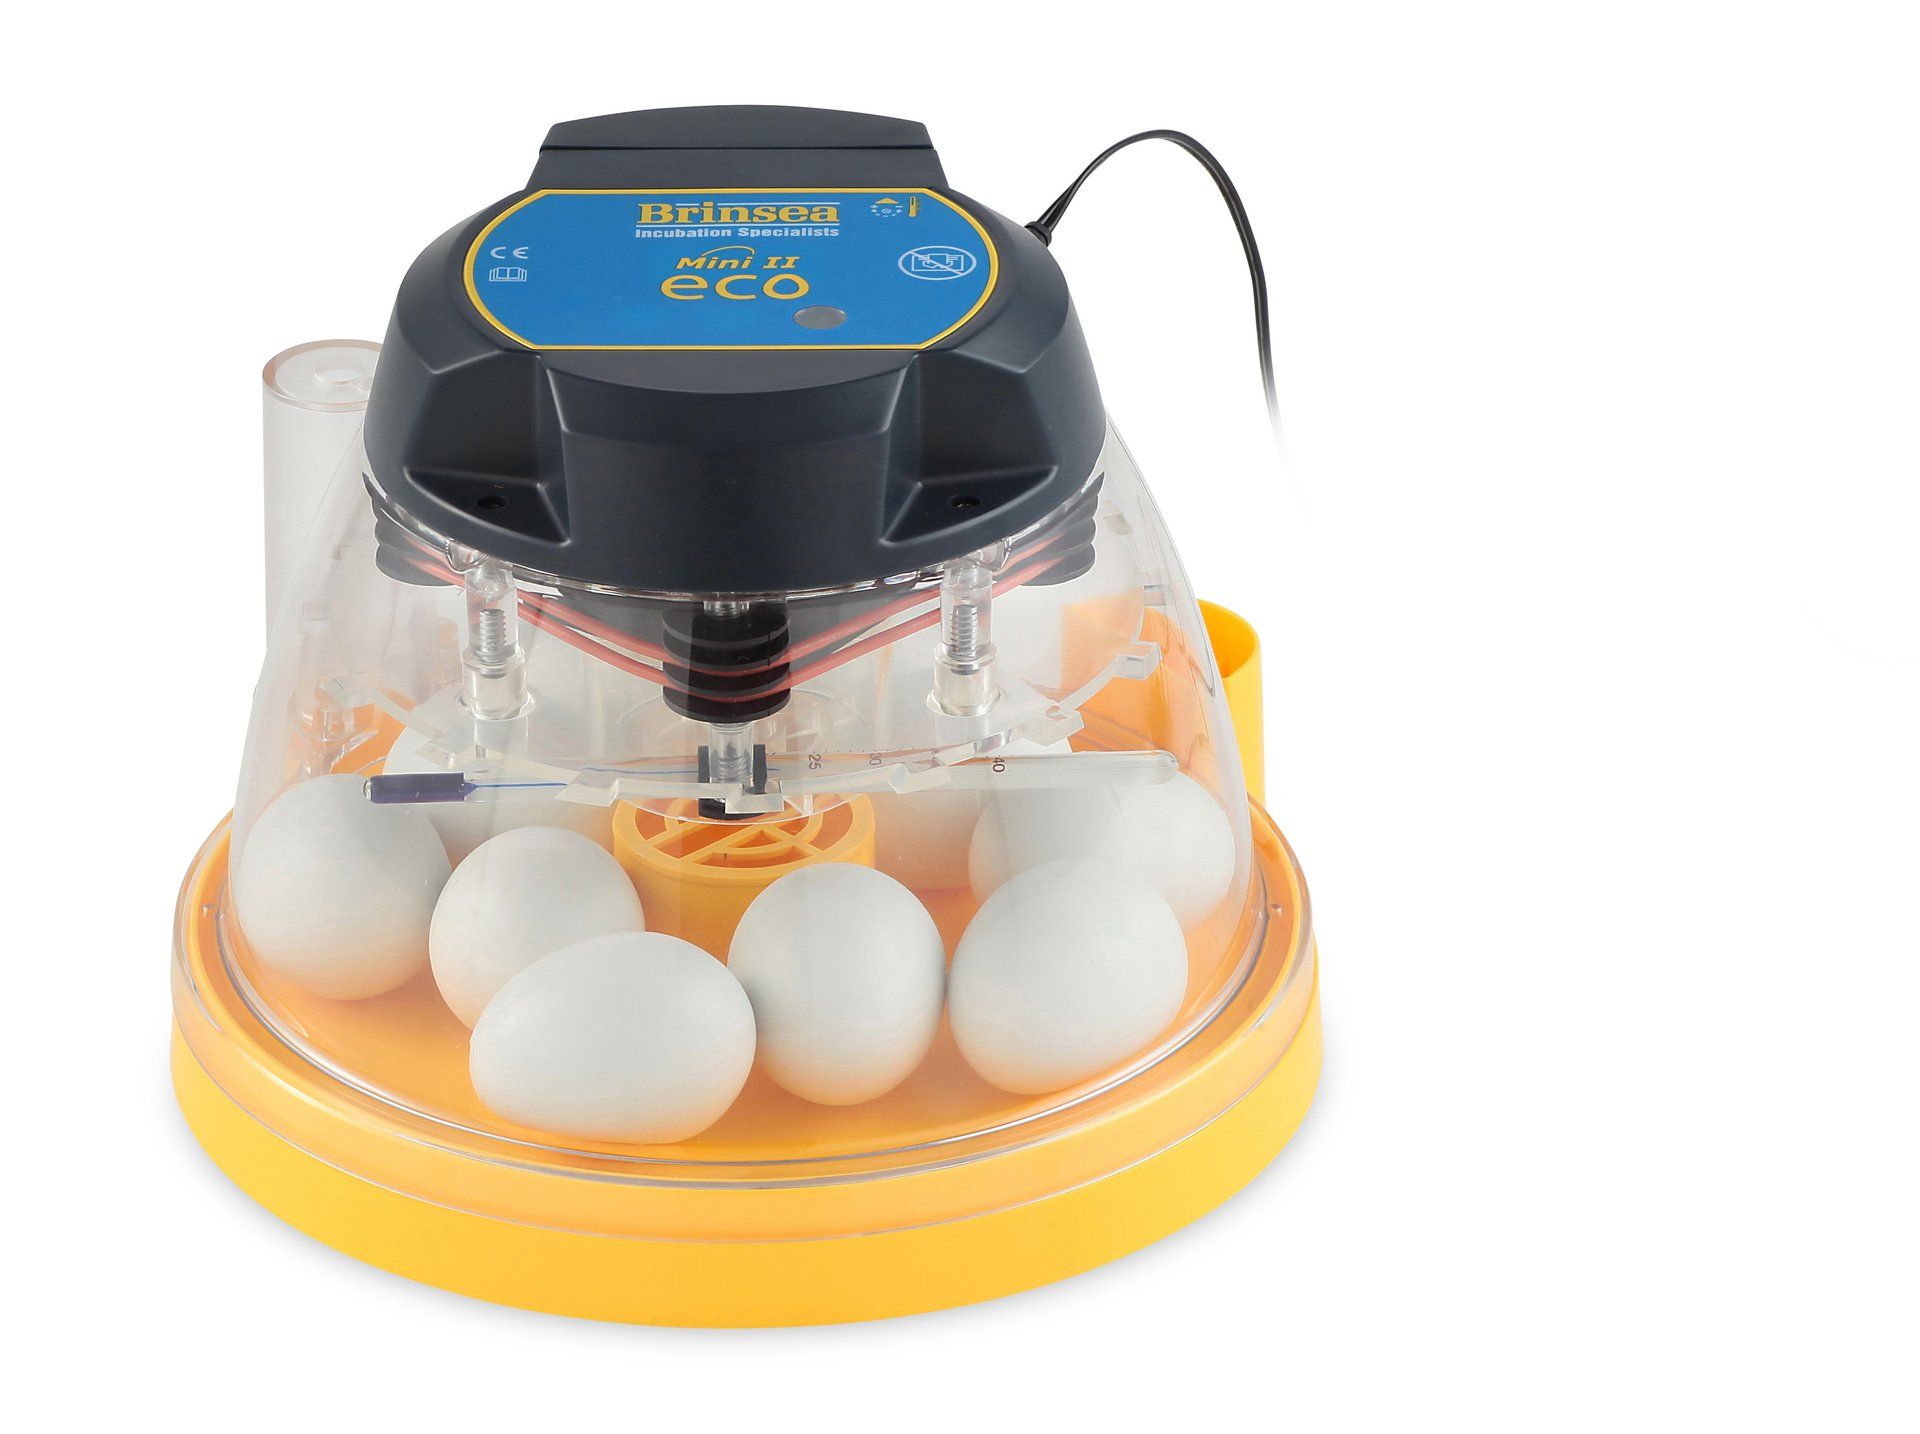
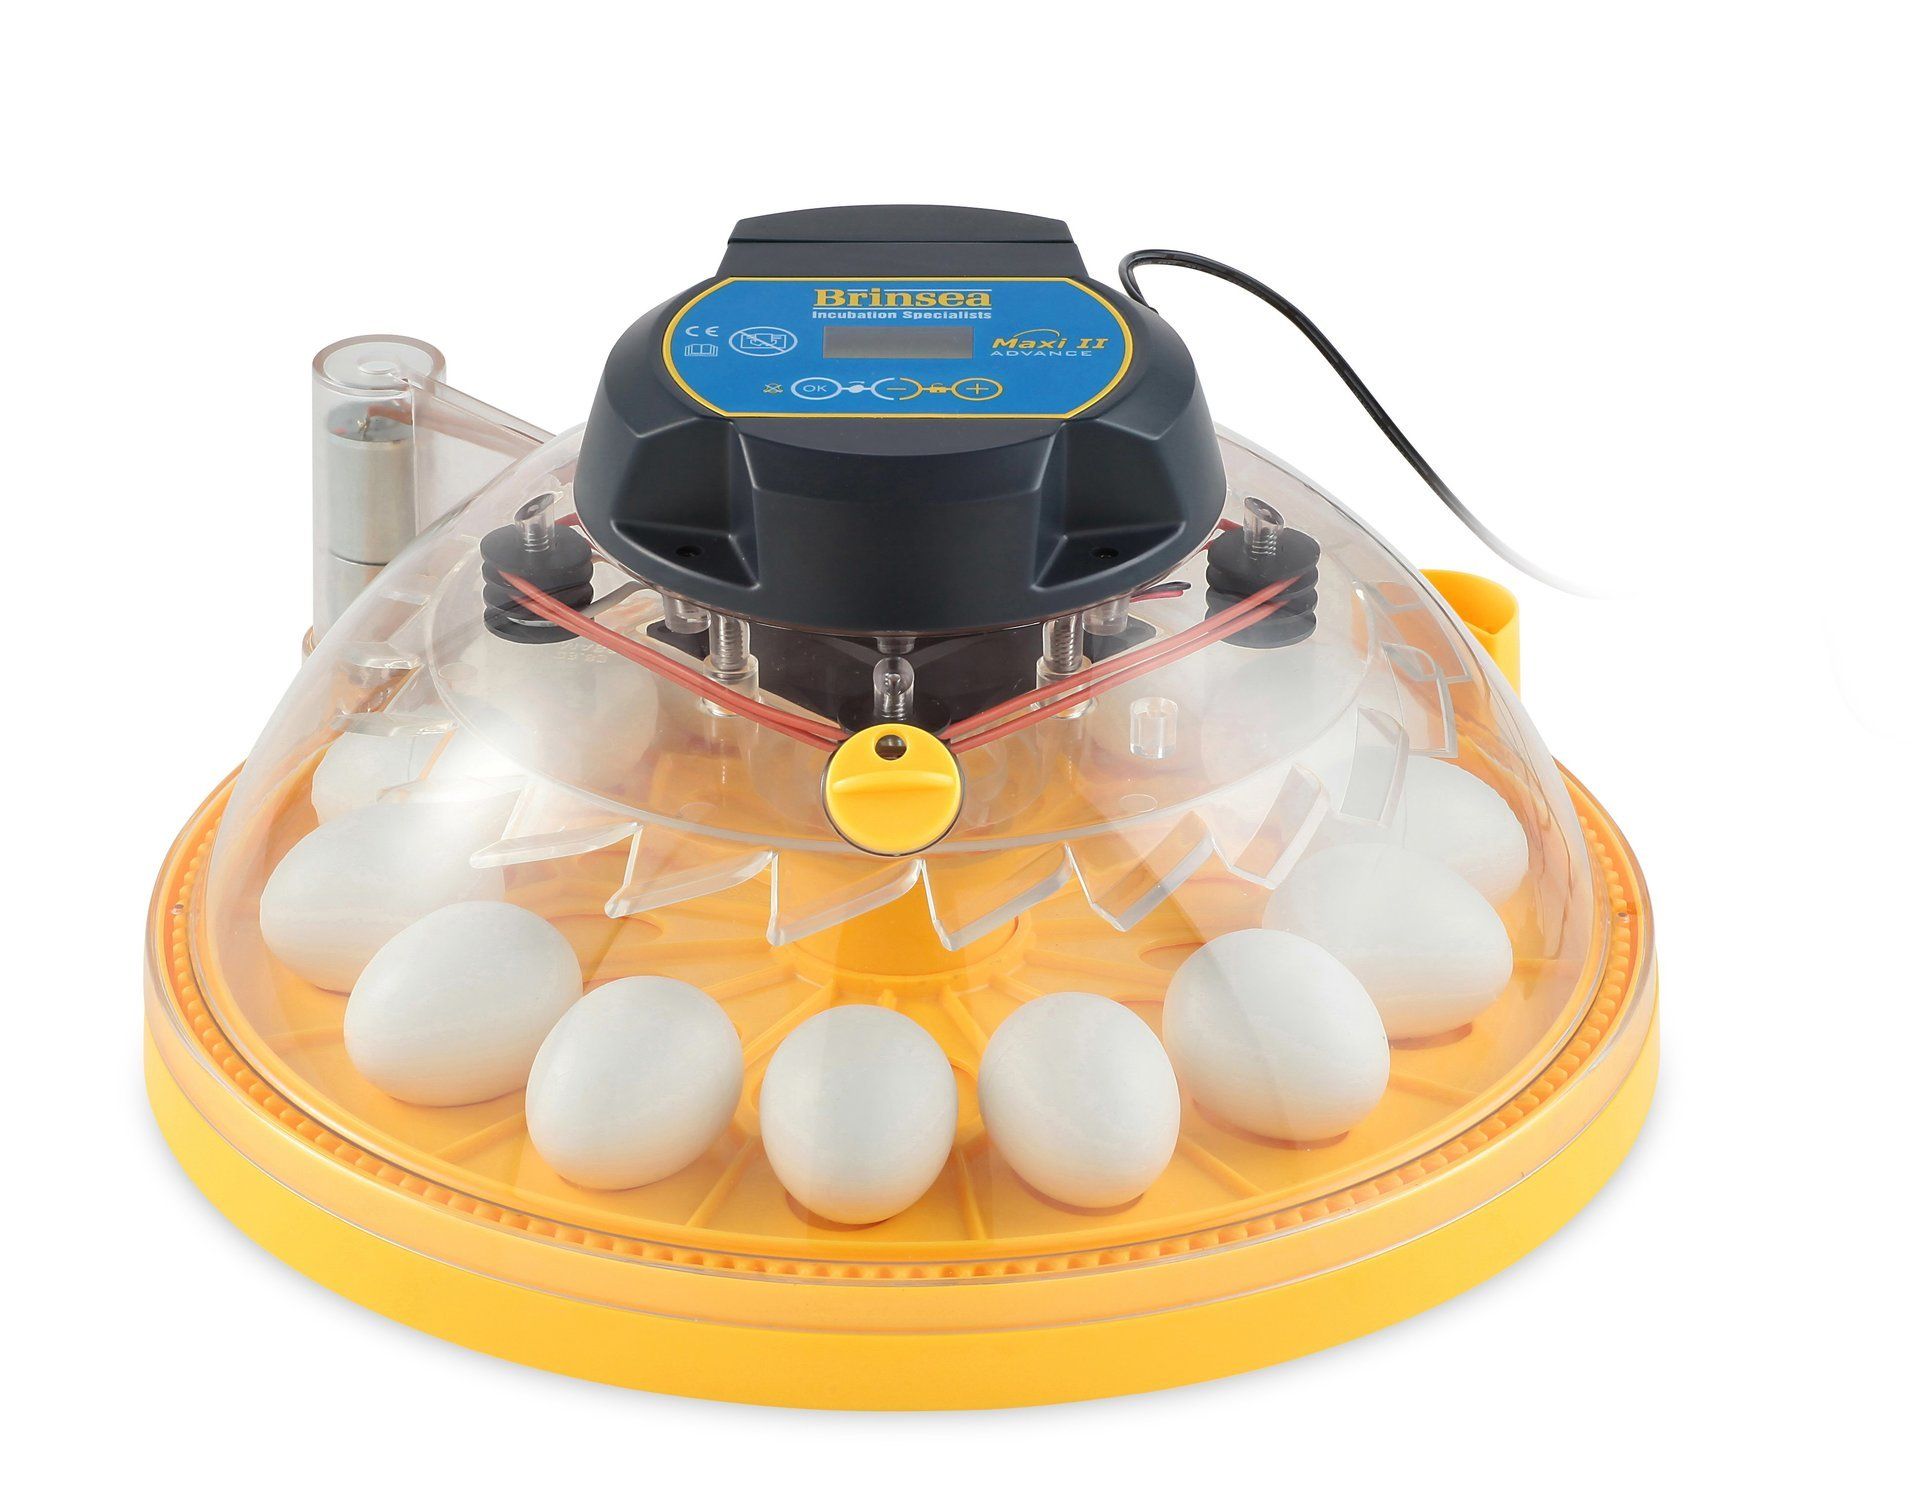
  • Test the incubator’s accuracy with a medical thermometer. Check that it reads 37.5°C where the eggs will sit. Adjust accordingly if the display is incorrect.
Sourcing Fertile Eggs
Durham Hens is the UK’s largest supplier of mail-order fertile eggs. We post hundreds daily during peak seasons using specialist packaging with foam inserts to prevent breakage. Our breeding stock is carefully monitored and fertility-tested regularly.

When your eggs arrive:
  • Posted eggs: Let them rest overnight, pointed end down.
  • Collected eggs: Can go straight into the incubator.
Set the eggs on their side or pointed end down, never with the air sac at the bottom.

During Incubation

Follow your incubator’s specific instructions.
  • In the last 3 days (days 19–21), stop turning the eggs and increase humidity.
  • Automatic incubators will turn eggs hourly. If using a manual one, turn the eggs several times daily.
  • Avoid opening the incubator unnecessarily—each opening can drop temperature and humidity.
After Hatching
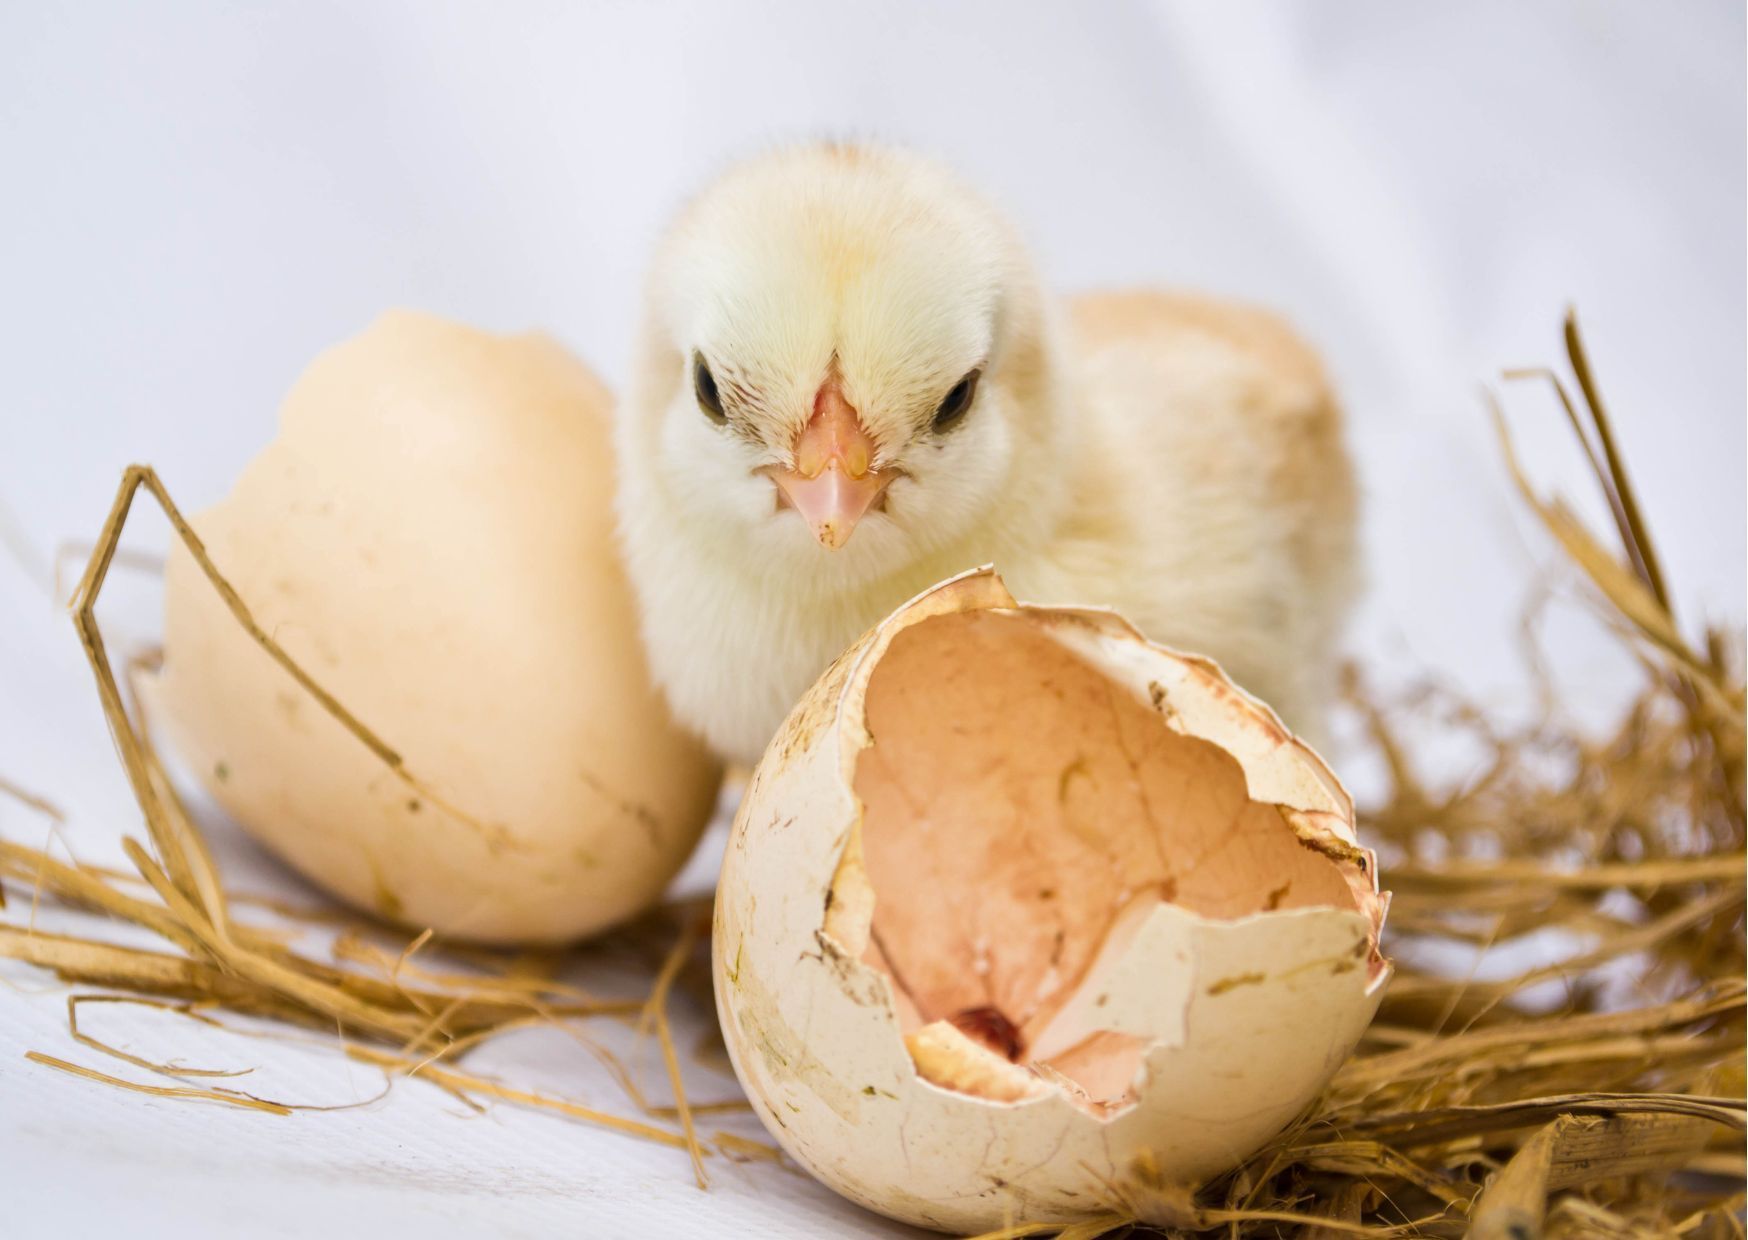
  • Chicks should remain in the incubator until dry and fluffy—this can take up to 24 hours.
  • Do not rush this process. Chicks can go without food or water for the first 24 hours.
Tip: Large incubators often underperform when used for small batches. Also, avoid mixing chicken and pheasant eggs, as they require different incubation conditions.
Using a broody hen

Is Your Hen Broody?
A broody hen will stay on the nest, resist being moved, and may act aggressively to protect her nest. She may gather other hens’ eggs too.

Setting Her Up
  • Move her to a separate, quiet coop with a soft, safe nesting area.
  • Confirm she remains broody after the move before setting eggs.
  • Aim for 6–8 eggs per hen, ensuring she can cover and turn them all.
Handling the Eggs
  • Let posted eggs rest overnight before placing them under the hen.
  • Collected eggs can go under her immediately.
Monitor her to ensure she’s eating and drinking—some hens may need gently lifting off the nest daily. Gloves may help if she is aggressive.

Once the eggs begin to hatch, leave her alone. The chicks will stay under her until dry and fluffy. This bonding time is vital, and they won’t need food or water for the first 24 hours.

Caution: Not all broody hens make good mothers. Some may break eggs or even harm chicks. Watch closely during her first hatching and remove the chicks if needed.
Expectations and Success Rates

Even with the best setup, not every egg will hatch. Here’s a general guide:

100% hatch rate–Exceptional
Around 75%–Very good
Around 50%–Within a normal range
Below 50%–May indicate an issue (e.g. incubation conditions, egg handling, or equipment)

With good incubation, many customers achieve around 4–5 chicks from 6 eggs, although results can vary.

Common Reasons for Hatching Failure

Poor Egg Quality
  • Some eggs may not fertilised.
  • In some cases, embryos may stop developing early or be genetically unviable.
  • Certain rare breeds can carry lethal genes that affect hatch success.
At Durham Hens, we only sell eggs with 80%+ fertility rate, and we monitor this year-round.

Faulty or Inaccurate Incubators
  • Temperature issues are the most common cause of failure.
  • We recommend checking your incubator with a reliable thermometer.
  • Low humidity can prevent chicks from hatching by drying the membrane or hardening the shell.
Insufficient Turning
  • Eggs need to be turned regularly for normal development.
  • Poor turning can lead to weak chicks or chicks that fail to hatch.
Postal Damage
  • Although uncommon, eggs can occasionally be affected in transit.
  • There is limited evidence that standard postal handling harms embryos, but disturbance and temperature changes can have an impact.
  • Always allow posted eggs to rest (ideally overnight) before incubation to let the air sac settle.
Inexperienced Broody Hens
  • Some hens may be unsettled or inexperienced.
  • Check regularly that eggs are kept warm, turned, and safely in the nest.
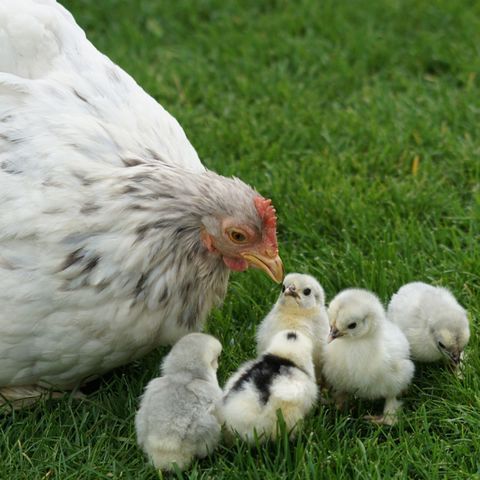
  • Occasionally, a hen may abandon or injure chicks; in these cases, they should be removed and reared under appropriate heat.

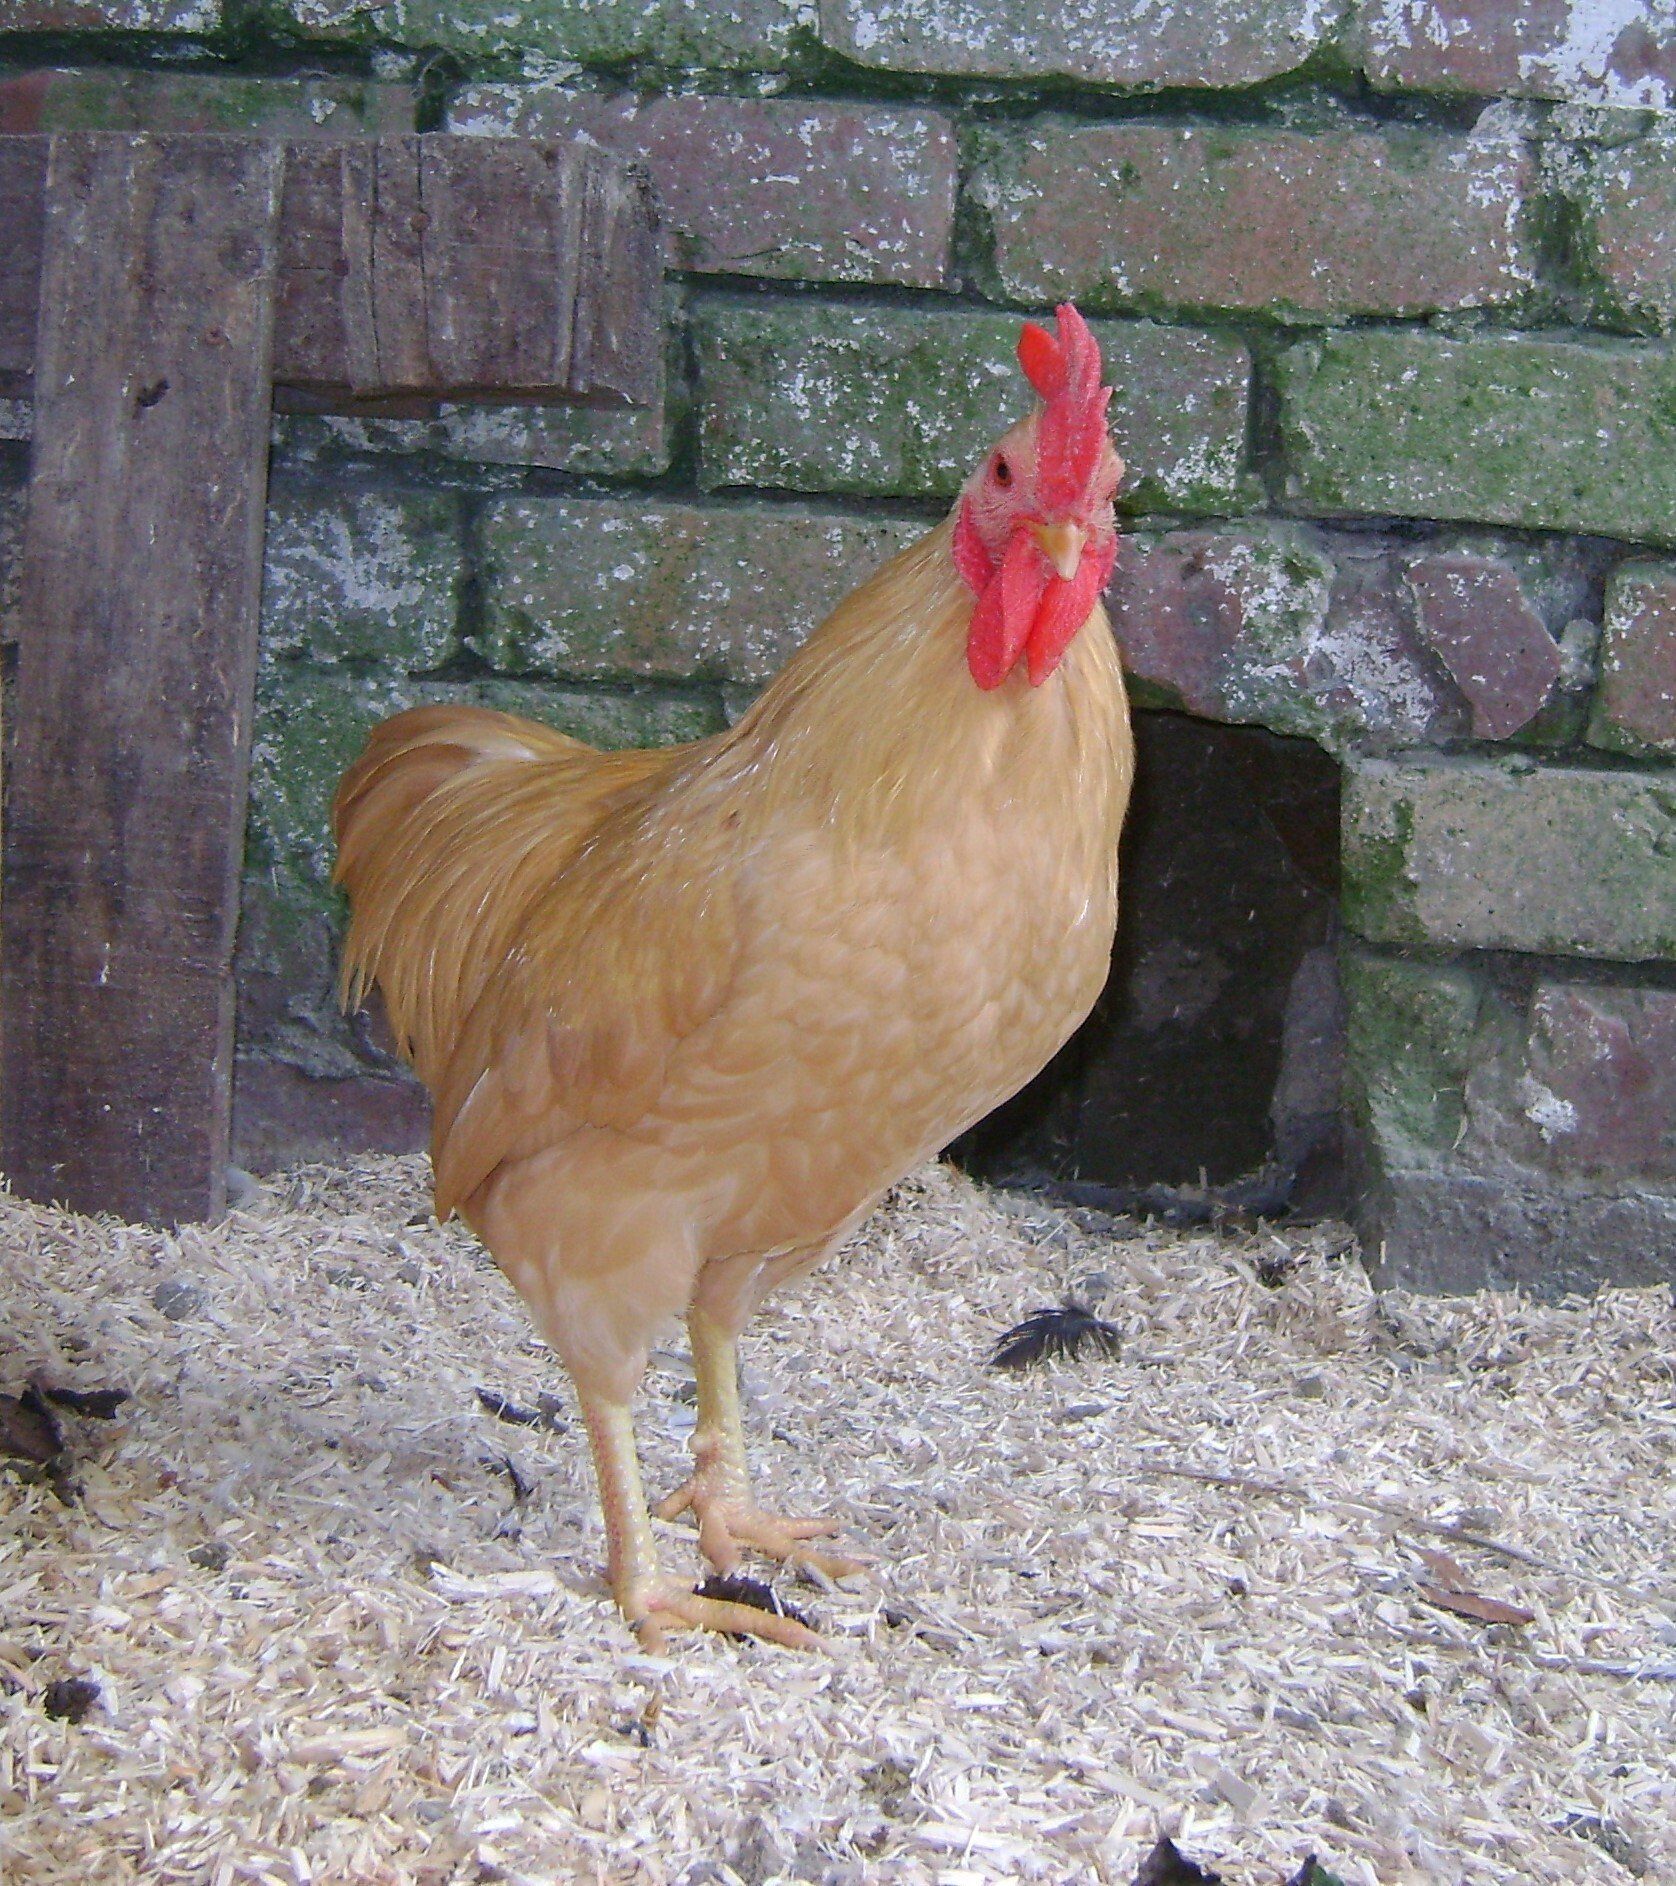
A Note About Male Chicks


Hatching is a natural process, and around half of all chicks will be male.

Male chicks grow into cockerels, which will eventually crow. If you’re unable to keep cockerels where you live, it’s important to plan ahead. This may involve:

  • Rehoming them
  • Having them humanely dispatched

If neither of these options is suitable, you may wish to consider buying sexed female chicks instead of hatching your own.


Final Thoughts


This is a beginner-friendly guide based on our own experience and feedback from Durham Hens customers. Hatching chicks can be a very rewarding experience, but it’s important to go into it well prepared.


If you’d like to learn more, there are many excellent books and resources available that cover incubation and chick rearing in greater depth.


And if things don’t go to plan, don’t worry—we have young chicks for sale, so you can still enjoy the experience of raising chickens.