Guide to Hatching Eggs

Guide to Hatching Fertile Eggs
 Always a popular activity in spring and summer, hatching chicks is a fun project, but not without its pitfalls.

We would like to share our vast experience of hatching and rearing chicks at Durham Hens to ensure hatching is a good experience for you.


The basics

Eggs will only be fertile if a cockerel has mated with the hen. Eggs may be fertile for up to 2 weeks after a cockerel is separated from the hen.

Fertile eggs can be stored in a cool place (ideally 10-16°C) for up to 2 weeks before incubating, although the fresher they are the better the hatch rate tends to be.

Fertile eggs should be stored on a slant with the pointed end down and rotated at least once a day.

Eggs need constant heat during the entire incubation period for the embryo to develop into a chick, provided by either a broody hen or incubator. The temperature should be at a constant 37.5 degrees centigrade.

Fertile chicken eggs (both large fowl and bantam) take 21 days to hatch. If an egg has not hatched after 25 days, it should be removed from the broody hen or incubator.

The egg will not grow or change shape during incubation. Sometimes you can see the egg move or hear cheeping from the egg shortly before hatching.

The chick will peck a hole through the eggshell (calling pipping) when it is ready to hatch. Do not move the egg while the chick is hatching.

Using an incubator to hatch fertile eggs
 
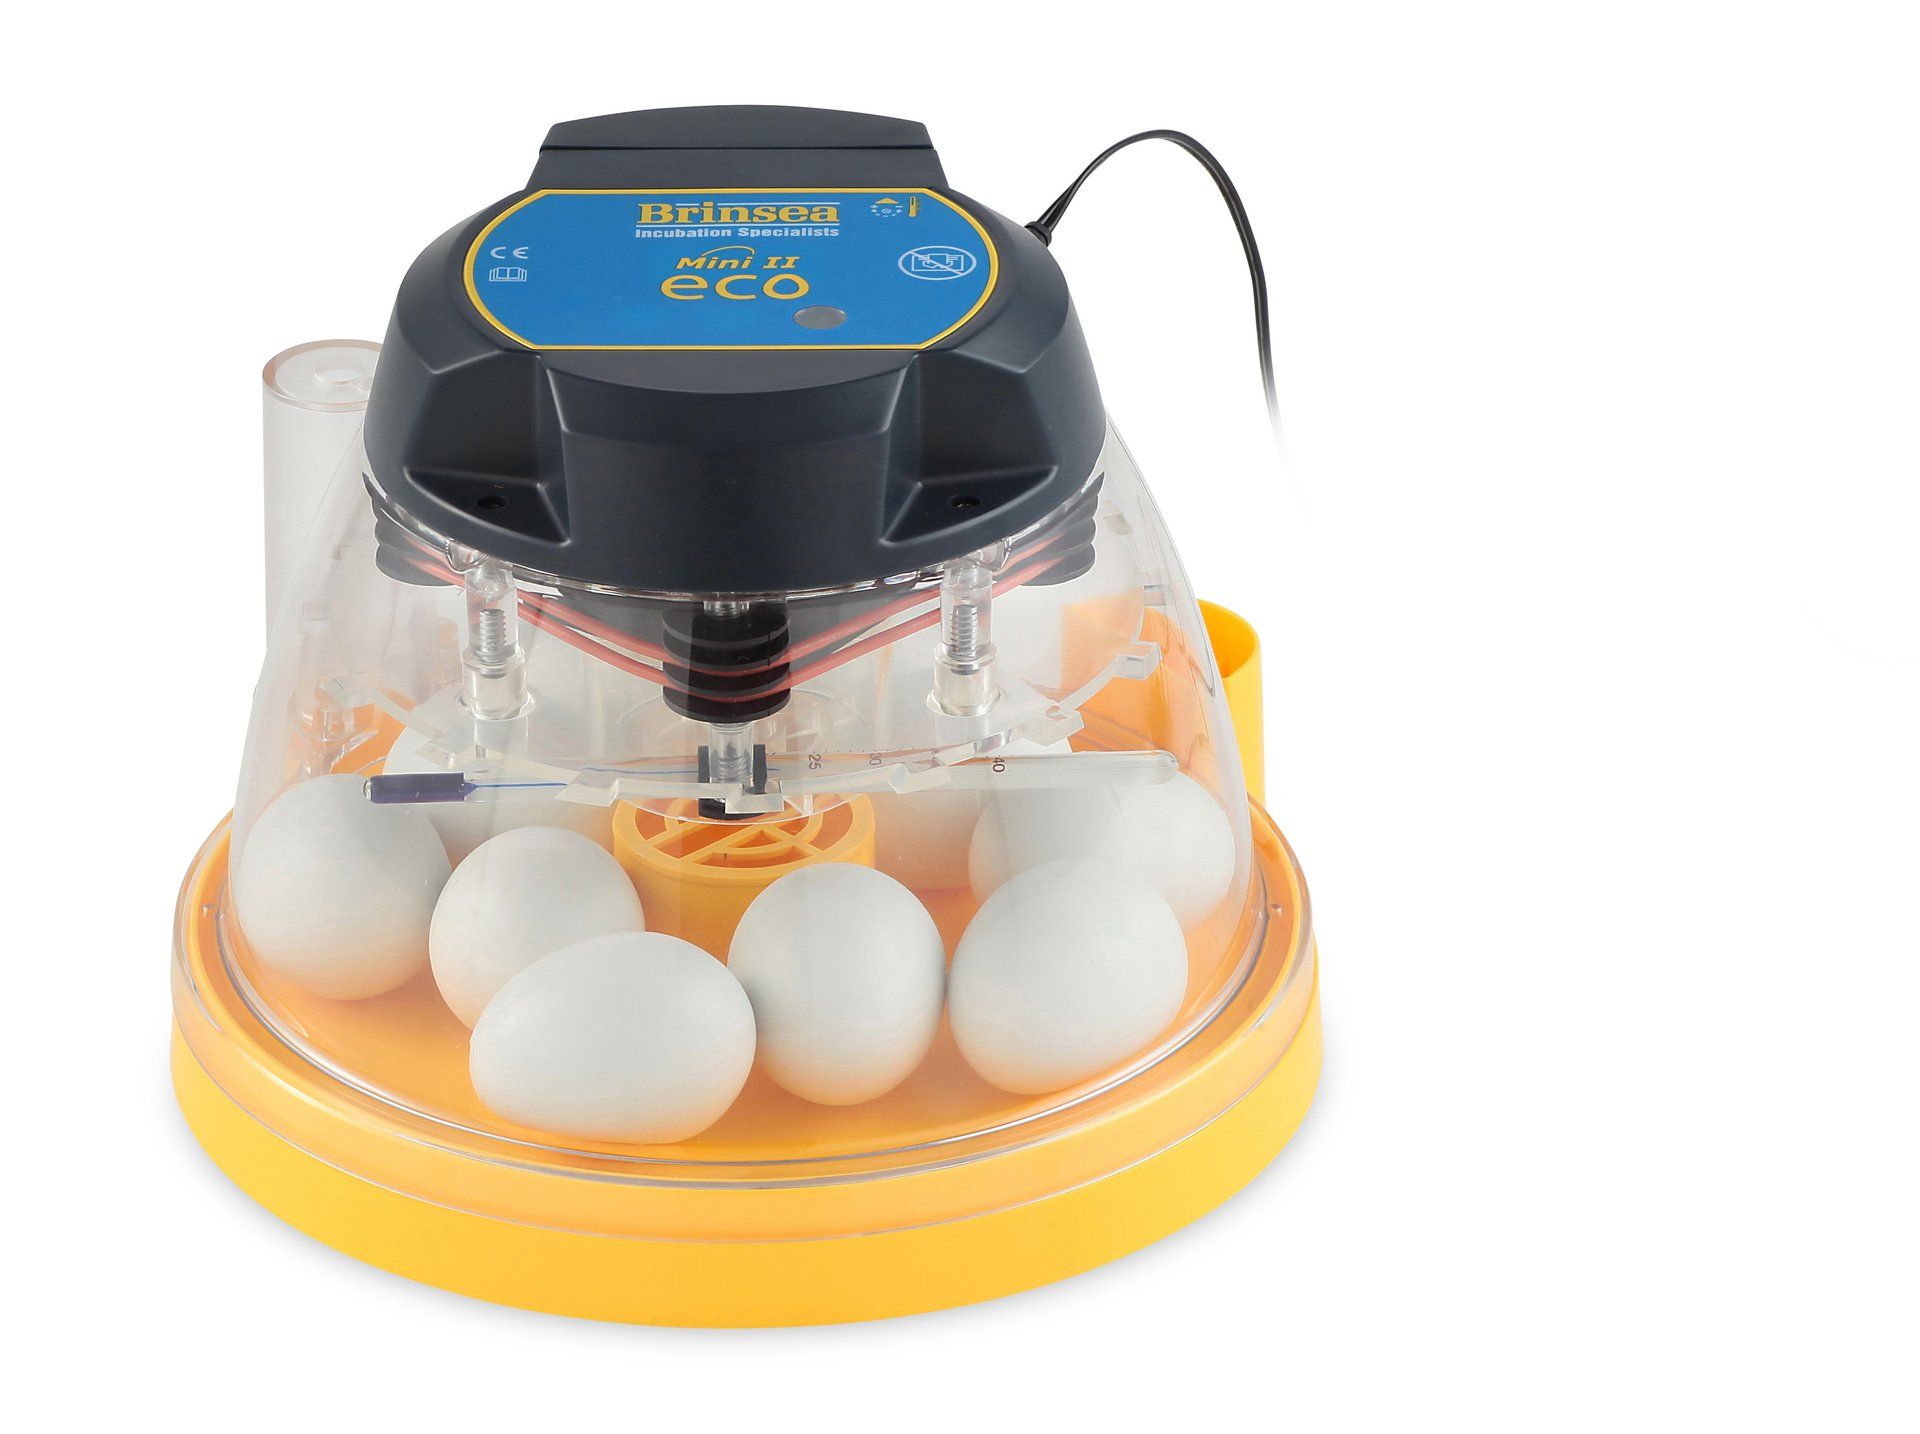
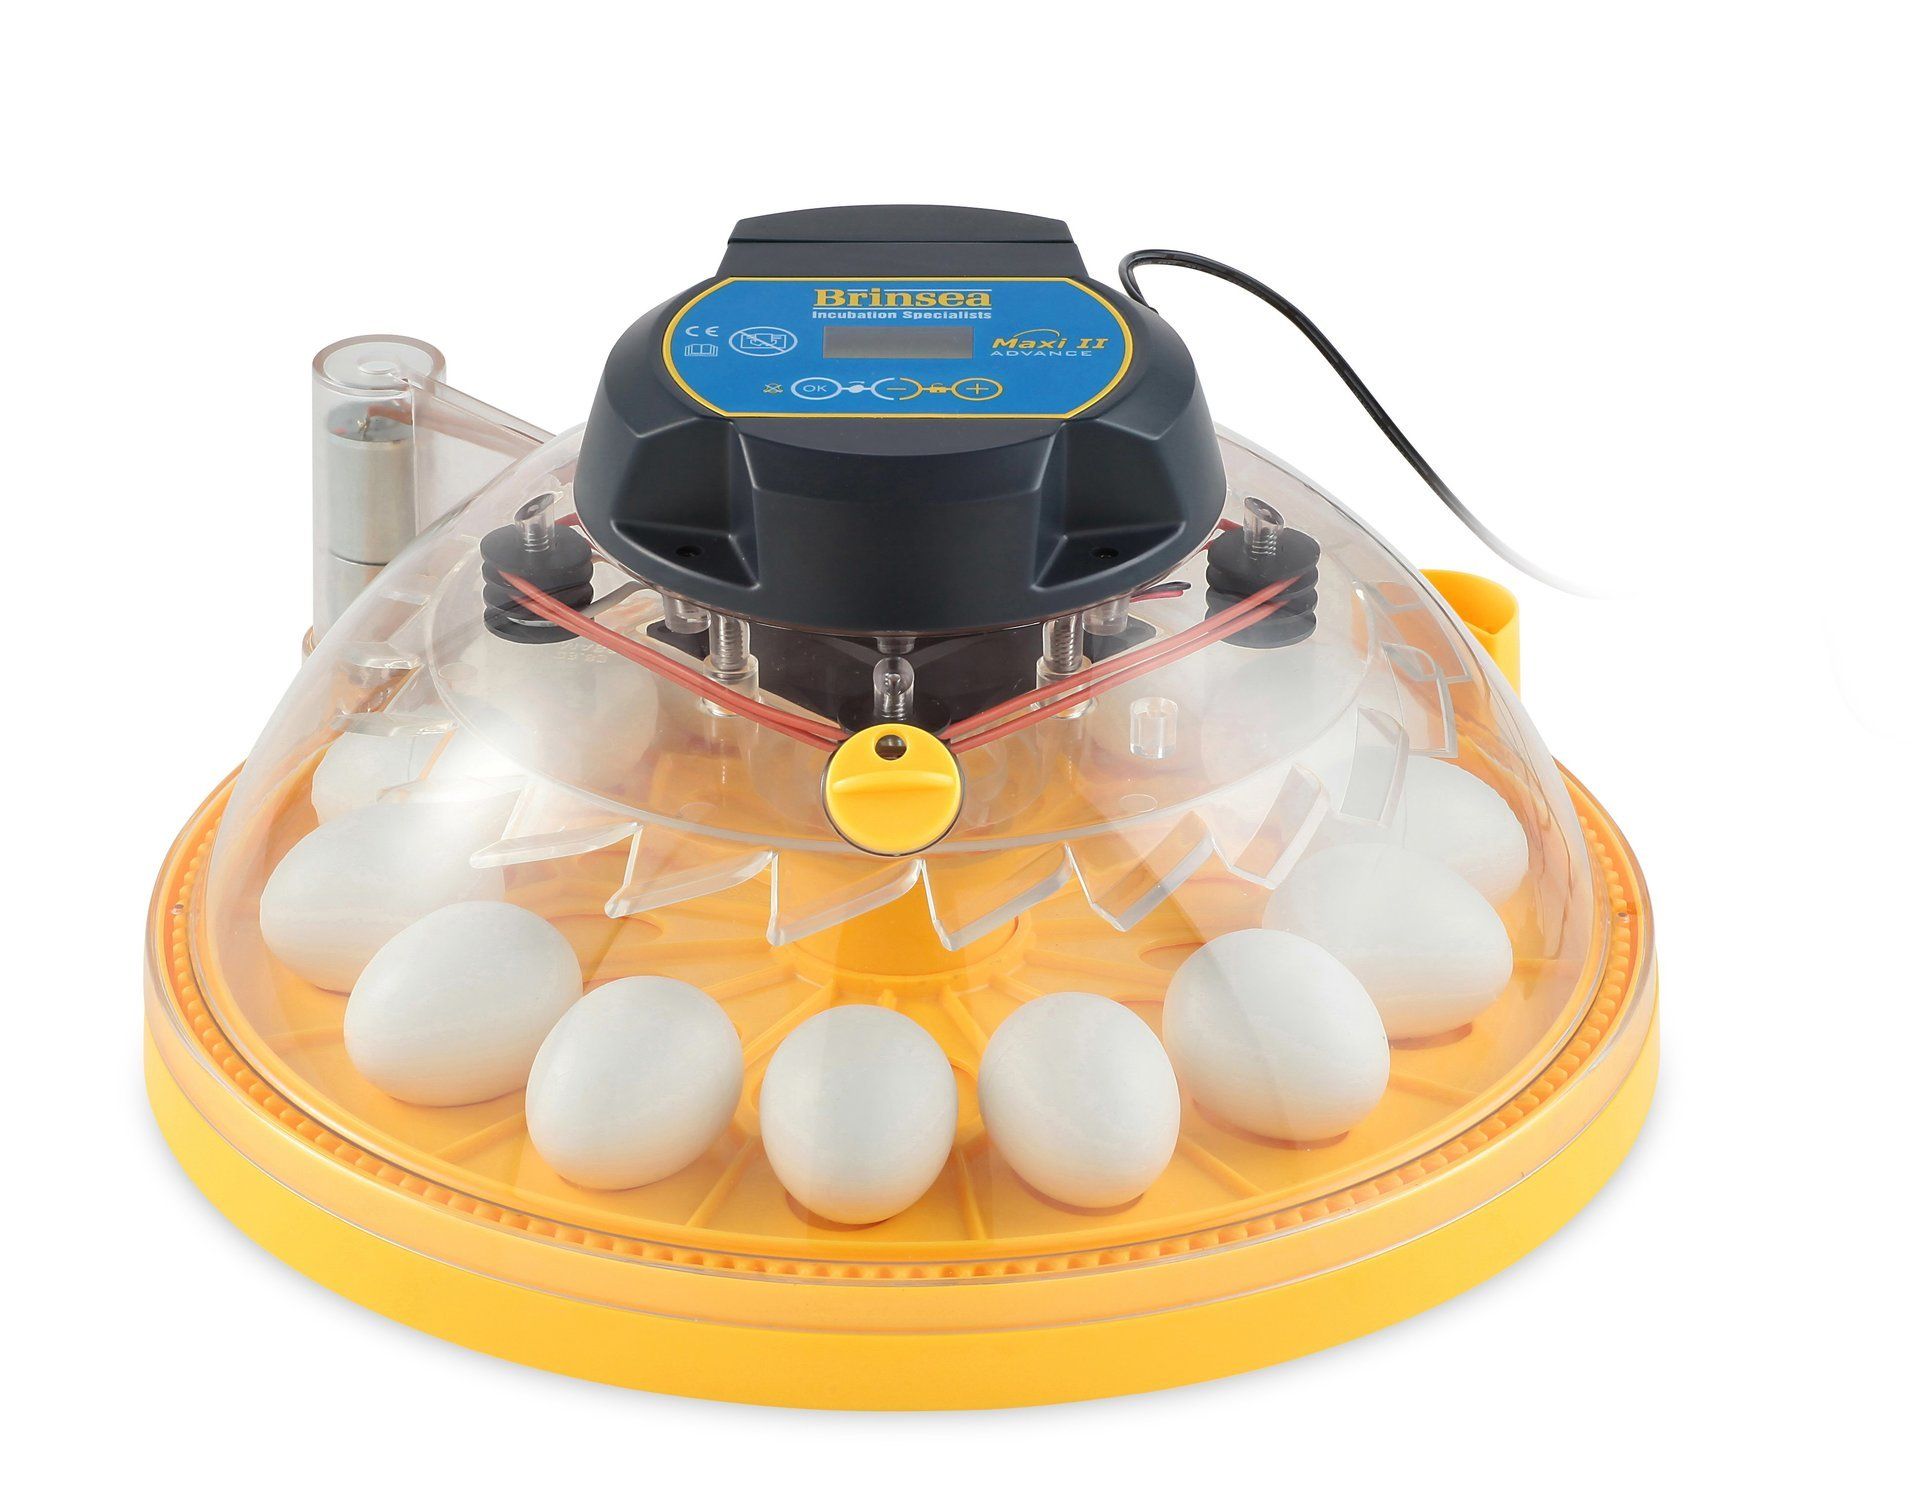
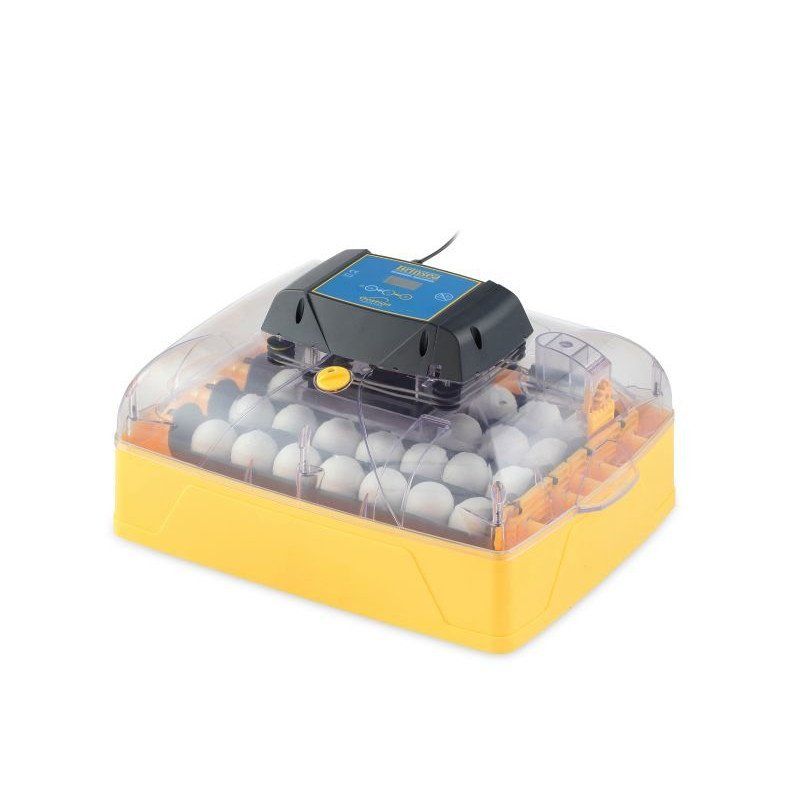
Firstly, you’ll need an incubator to keep the fertile eggs at a constant 37.5°C for 21 days until the eggs hatch. This is often where the biggest mistake is made. You can find incubators online for as little as £20 including delivery, which sounds great, but many of these do not keep a constant temperature, and some are fire hazards. You’re likely to waste all the money spent on the incubator and eggs, and have disappointed children. It is worth investing in a reliable incubator, such as the Brinsea range which starts at around £85.

Where you place the incubator in your home is important. It should not be in direct sunlight, near a radiator or in a draft. The room should be kept at a pleasant temperature and should not fluctuate between day and night. Any one of these factors can prevent incubators from keeping the constant temperature that eggs require.

Test your incubator is working correctly. Place a medical thermometer where the eggs will be placed and check that it is the same as the reading on the display. If not, adjust the thermostat so that the medical thermometer inside the incubator reads 37.5°C. An incorrect display reading is a frequent problem encountered by novice hatchers.

Once you’re happy with your set up, you’ll need to source some fertile eggs. Durham Hens is the largest supplier of mail-order fertile eggs in the UK, sending out hundreds per day at peak times. The eggs are posted in cardboard boxes, with purpose-made soft foam inserts which cushion and protect the eggs from damage. We constantly check the fertility of our breeding stock by candling their eggs in our hatchery, and only send out eggs that we know have a good chance of developing into chicks.

When your eggs arrive in the post, leave them to settle overnight with the pointed end down before putting them in the incubator. If you collect your eggs, they can be placed in the incubator straight away.

It is important that the eggs are set lying on their side or with the pointed end downwards, because the air sac in the egg is at the wider end.

Follow the instructions for your incubator during the incubation period. Please note that eggs set in the upright position should be laid on their sides a few days before hatching.

Also increase the humidity in the incubator for the last 3 days.

Automatic incubators turn the eggs about once an hour. If you have a manual incubator, you need to turn the eggs as often as you can. The eggs will not develop properly if they are not turned regularly.

Do not open the incubator except to add water. Both the temperature and humidity will fall every time it is opened and this can slow the incubation period causing the eggs to hatch later than expected.

Chicks should be kept in the incubator until they are dry and fluffy. They can be left in the incubator for up to 24 hours as they don't need food or water during that time.

Please note that using large incubators designed up to hatch well when full of eggs often perform poorly when only a small number of eggs are set. Incubating hen and bantam eggs with pheasant eggs will often give poor results, possibly because the incubation temperature for pheasants is lower than for chickens and the incubation period longer.
Using a broody hen to hatch fertile eggs

A hen should be broody before you attempt to put eggs under her to hatch. You can tell if a hen is broody as she will refuse to leave her nest and she may be aggressive if you try to move her. She may collect eggs laid by other hens and sit on them.

The hen should be placed be in a separate coop. Ensure she is still broody after moving her and then you're ready to order or set your eggs.

Be realistic about the amount of eggs you set. Your hen must keep all of them warm and turn them regularly. She will also care for and protect the chicks when they hatch. We have found hatching and rearing results are optimum with 6 to 8 eggs per hen.

If your eggs arrive in the post, leave them to settle overnight, pointed end down, before you put them under your broody hen. If you collect your eggs, they can be placed underneath her straight away.

Ensure the hen eats and drinks while incubating the eggs. Sometimes hens are reluctant to leave their eggs. You may need to lift her off the nest once a day. If she is aggressive, wear gloves to protect your hands.

Leave her alone while the eggs are hatching. The chicks will stay underneath her until they are dry. They do not need to eat or drink for 24 hours, so do not disturb the new mum and her babies. It's important that they have time to bond.
Expectations

When you start out, you need to have realistic expectations. Even with a good incubator in a suitable place, you may find that not all of the eggs will hatch. Some eggs may not have been fertilised, some may not develop properly and some chicks may not make it out of the egg.

A 100% hatch rate is exceptional, a 75% hatch rate is good, a 50% hatch rate is OK. Less than 50% points to a problem with either the eggs, the incubator, or its setting. When the incubation process works well, we expect customer to hatch four or five live chicks from six eggs.

Quality of the eggs

The egg may not have been fertilised.
The embryo may have died at an early stage of development.
The chick may have been weak, abnormal or diseased, causing death before or during hatching.
Some rare breeds carry lethal genes that can kill chicks before they hatch.

Please note that Durham Hens only sell eggs with a hatch rate of 80% or higher and we constantly monitor this at our hatchery.

Faulty/inaccurate incubator

Temperature is the most important factor in ensuring a good hatch. Incubators should be checked with a medical thermometer (the type used to take body temperature) as these are the most accurate and you can buy them at a reasonable price. We have a fully calibrated thermometer for monitoring our incubators at our hatchery at Durham Hens as a good hatch is vital to our business. If the chicks pipped but did not manage to get out of the shell, the humidity (the amount of water in the air) may have been too low. If the air is too dry, the shell is harder for the chick to break through and the membrane inside the egg can stick to the chick, preventing it from moving freely and getting out.

Not turning the eggs enough

If the eggs are not turned frequently enough, the chicks may be weak or die inside the shell. Automatic incubators turn the eggs approximately every hour.

Eggs damaged in the post

During the spring and summer, we send out hundreds of eggs by post every week. Most of these hatch successfully and we have many repeat customers. Occasionally when eggs have been through the postal system, they fail to hatch. There is no evidence that this is due to transportation. However, it is possible that X-rays may prevent embryo development. It is important that eggs are rested overnight before incubation begins, to help repair any damage to the air sac caused during transit. Failure to do so is likely to affect your hatching results.

Inexperienced broody hen

Some hens instinctively go broody and want to hatch eggs. This does not mean that they will be good at hatching or make good mothers. Some are rough with the eggs when turning them and can break them. Ensure the nest area is soft and that eggs cannot roll out. Some hens leave the eggs for too long and they get chilled; this can prolong the incubation time by a few days or even kill the embryos if the eggs are left too long. Some hens will actually push eggs out of the nest. Very rarely, a hen may even attack or kill the newly hatched chicks. If you see a hen acting violently towards her chicks, take them off her and place them under a heat lamp or electric brooder immediately.

If things go badly wrong, Durham Hens usually have young chicks available for sale.

Male chicks


It is very likely that some of the chicks you’ll hatch will be male. Male chicks grow into cockerels, and cockerels will crow. If you are unable to keep cockerels where you live, please ensure that you can either rehome them or dispatch them humanely. If you can’t do this, please consider buying female chicks to rear rather than fertile eggs to hatch. 


This is a very basic guide to hatching fertile eggs at home, based on our experience at Durham Hens of incubating our eggs and listening to our customers. Hatching is a complex process and there are excellent books written on the subject if you wish to delve further. 

Share by: